Jump rope for beginners: how to learn from zero
Jump rope for beginners comes down to four fixes: shorten the rope, jump barely an inch, turn it with your wrists, and keep your eyes up. Learn it in stages — no rope, half-turns, single bounce, then continuous. Chase unbroken sets, not minutes on a clock.
Why is jumping rope so hard at the start?
Two things happen at once, and neither is fitness. Your hands set a rhythm your feet have to obey, which takes a few hundred reps to wire in. Meanwhile your calves and Achilles tendons absorb every landing, and they're rarely conditioned for it — even in runners.
So a first session can feel harder than a run twice as long. The fix is reps and rest, not effort. Most people who quit in week one weren't unfit; they had a rope a foot too long and tried to solve it by jumping higher. (Skipping rope and jumping rope are the same skill under two names, so anything written for skipping rope for beginners applies here too.)
Jump rope for beginners: the four errors that end first sessions
The rope is too long
Off the shelf, most ropes are cut long. A long rope drags, slaps the floor early, and catches your toes on the way up.
Size it yourself: stand on the middle of the rope with one foot and pull the handles straight up beside you. For learning, the tops of the handles should land between your armpits and the tops of your shoulders. Experienced jumpers cut shorter — toward the sternum — because a short rope moves faster, but don't start there. With an adjustable cable, trim a little, jump, trim again. You can't add cable back.
You're jumping too high
You only need an inch or two of clearance under your feet — enough for the rope to pass, nothing more. If your knees rise or your heels drop to the floor between reps, you're burning energy you'll want in minute three. Stay on the balls of your feet, ankles doing the work, knees soft. Landings should be quiet.
You're swinging from the shoulders
The rope is turned by the wrists and forearms. Big arm circles change the effective rope length mid-turn, which is why the rhythm collapses after five or six jumps.
Cue: elbows close to your ribs, hands around hip height and slightly ahead of your hips, thumbs pointing forward and out. The motion is small — like flicking water off your fingertips. If your hands travel more than a few inches, tuck the elbows again.
You're looking at your feet
Looking down rounds your upper back, shifts weight onto your toes, and puts your landings off balance. It doesn't even help — by the time you see the rope, it's too late to react. Pick a spot on the wall roughly 10 to 15 feet away at eye level and stay there. You'll hear where the rope is, which is one reason beaded ropes suit learners: the click on the floor reports your timing so your eyes don't have to.
How to jump rope: a four-stage progression
Each stage isolates one piece of jump rope technique, so run them in order. Move up only when the current stage feels boring.
Stage 1 — shadow jumps, no rope. Both handles in one hand, or nothing at all. Bounce in place on the balls of your feet, an inch up, turning your free wrist as if the rope were there. Two minutes. You're setting tempo: one bounce per beat, no pauses.
Stage 2 — half-turns. Hold both handles in one hand and swing the rope in a circle beside your body, adding a small bounce each time it strikes the floor. Switch sides. This teaches the beat — your feet leave the ground just before the rope lands, not after. Then take a handle in each hand, start with the rope behind your heels, swing it overhead, let it stop in front of your toes, and step over. Ten of those and the arc is in your body.
Stage 3 — single bounce. One jump per turn, starting from a dead stop. Five clean reps, then ten, then twenty. Stop the moment the rhythm goes ragged instead of fighting through misses; sloppy reps teach a pattern just as efficiently as clean ones. A double bounce — a small extra hop between turns — is a normal crutch while learning, but don't let it settle in.
Stage 4 — continuous. Now you're linking turns. A comfortable basic-bounce cadence for most people sits somewhere around 100 to 140 turns a minute. Anything faster is speed-rope territory and not a week-one goal.
Proper jump rope form, breathing included
Stand tall with your ribs down and shoulders relaxed. Elbows in, hands low and forward, wrists turning, eyes level, feet together or a couple of inches apart, landing on the balls of the feet with the heels only kissing the floor.
Breathing is the part nobody teaches. At those cadences you can't breathe once per jump, so don't try — inhale across three or four turns, exhale across three or four, and keep it nasal as long as you can. If you're mouth-breathing hard in the first 30 seconds, the cadence is too fast. Surface matters as well: wood, rubber flooring, or a thin mat over concrete spares your shins and your cable.
Chase unbroken sets, not minutes
"Jump rope for 10 minutes" is a poor first goal. Most of it goes to untangling and restarting, and the number says nothing about whether you improved. Use unbroken sets instead — the longest run you string together without a trip. That figure climbs fast in month one and it's the one that actually measures the skill.
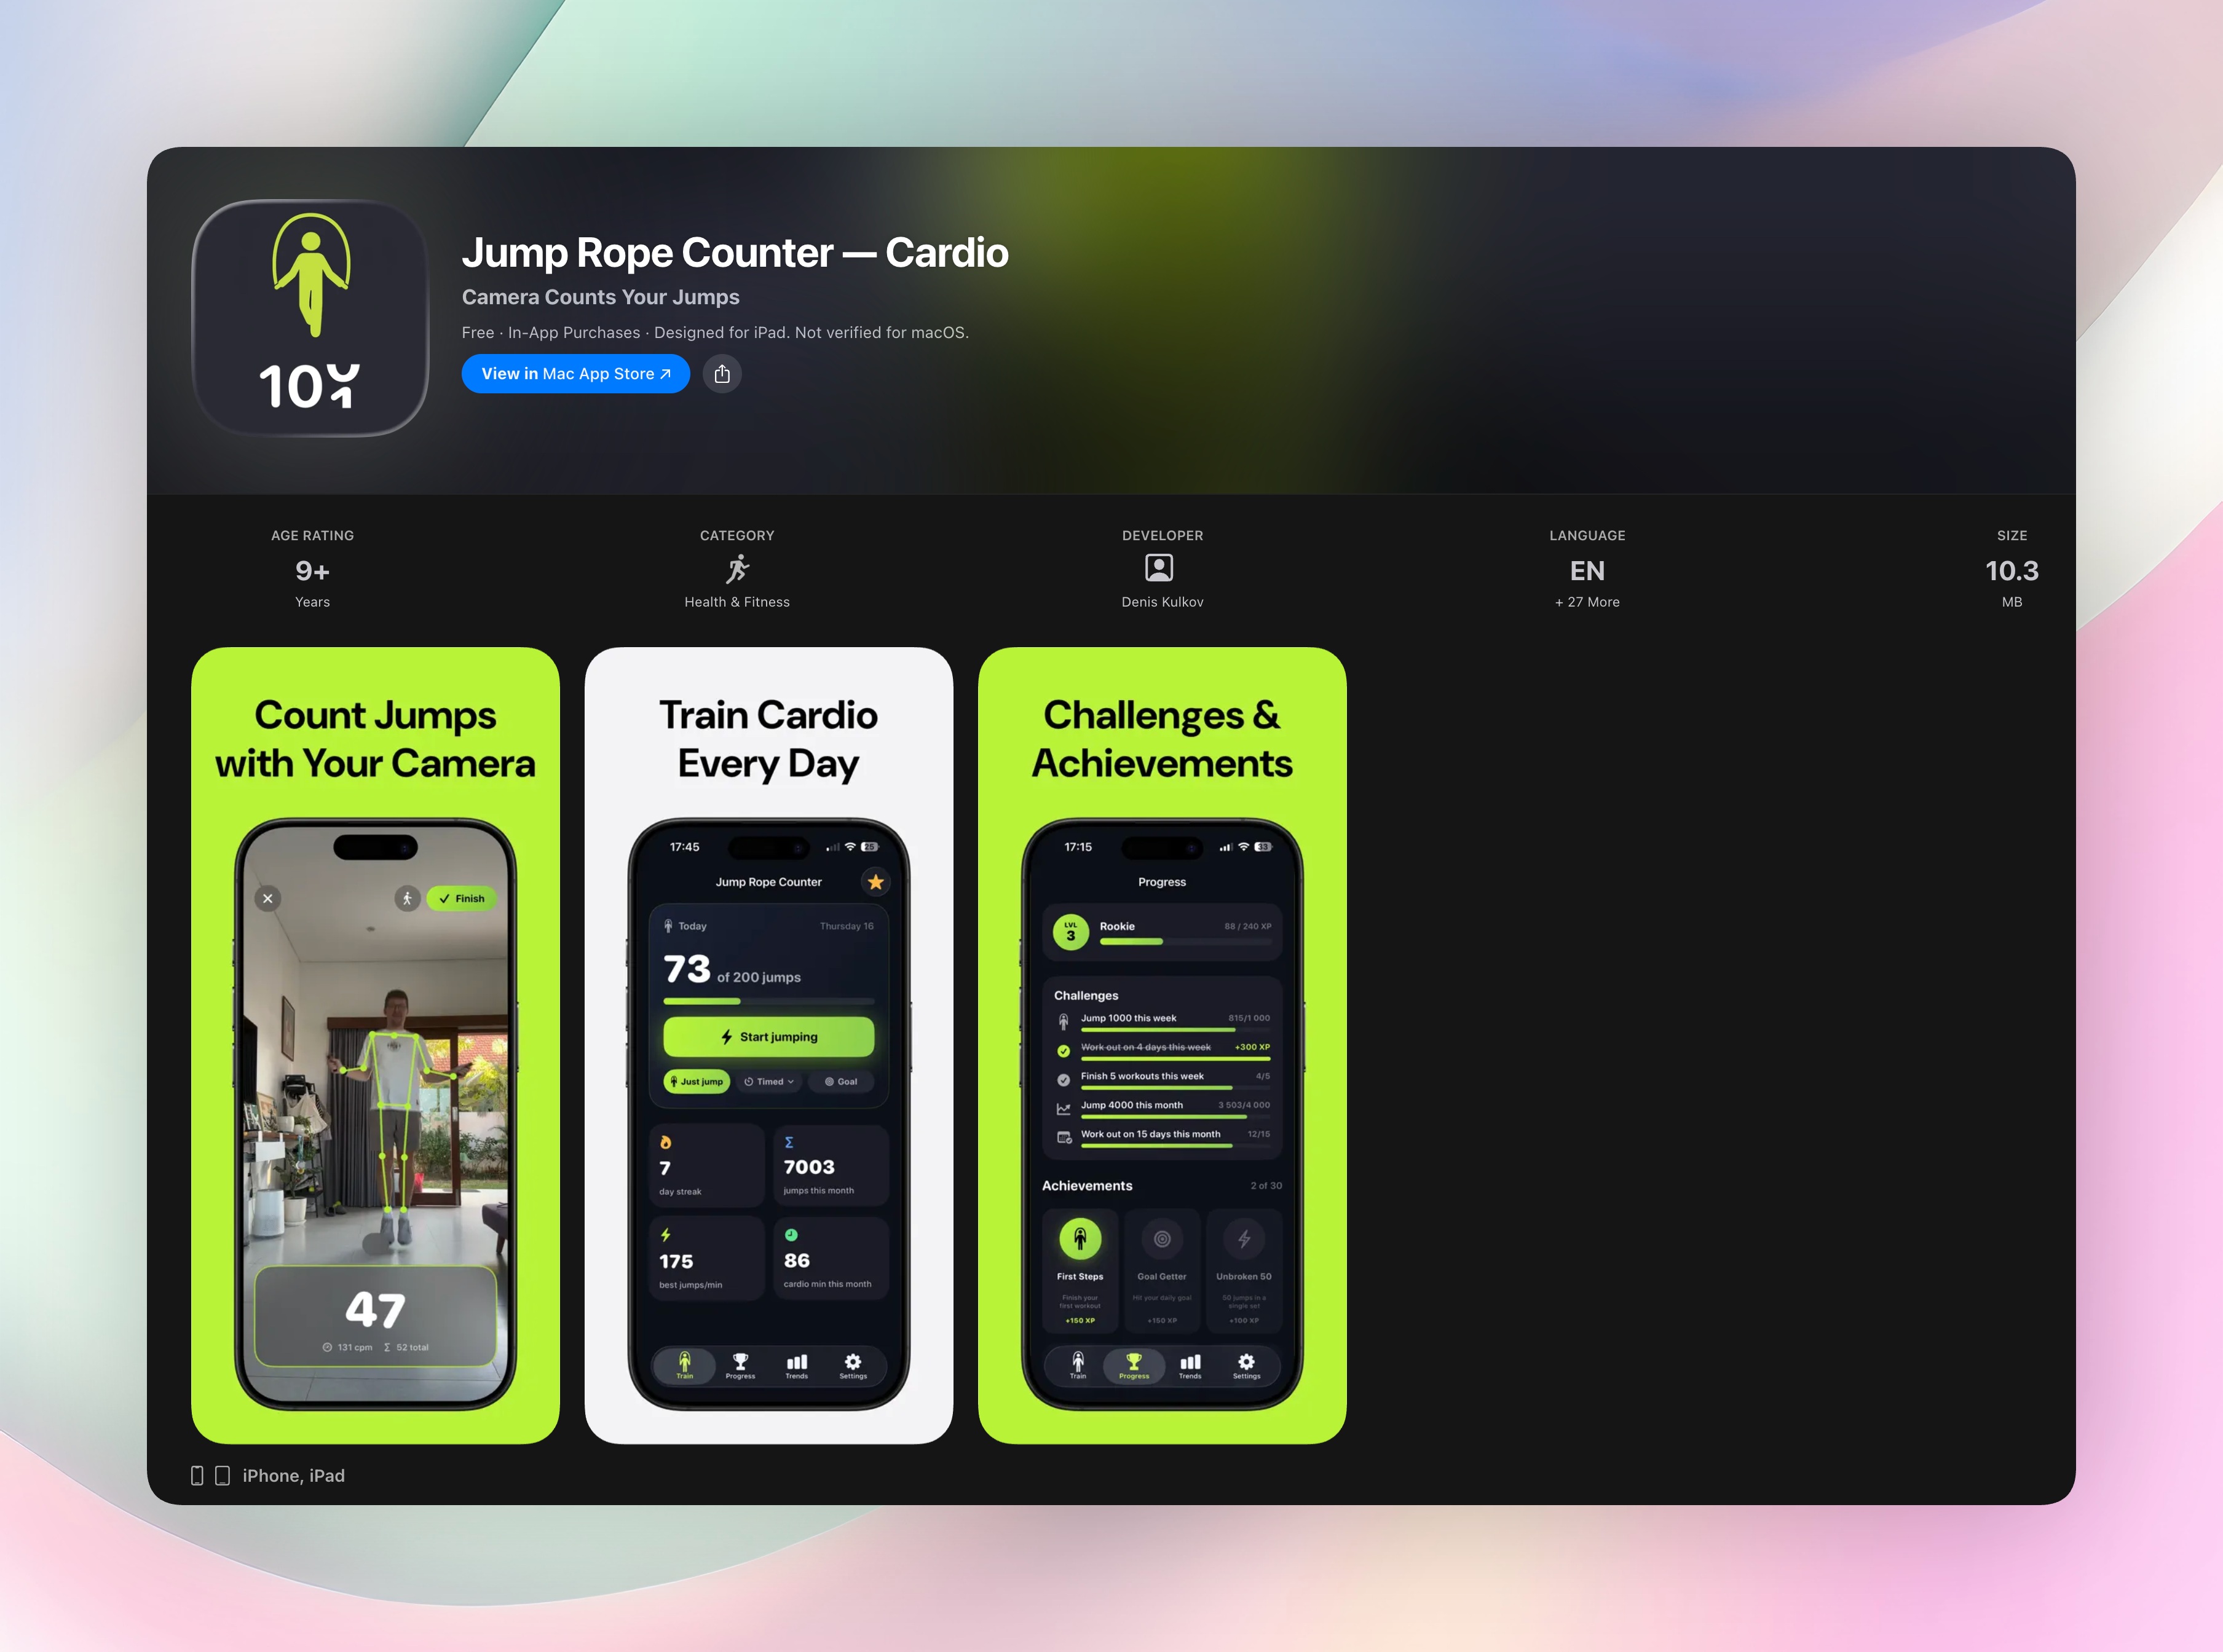
Counting your own jumps while you're still learning the rhythm is the quickest way to break it; the head-nodding and lip-counting drag your eyes down. Let something else keep score. Jump Rope Counter is a jump rope counter app for iPhone that counts jumps with the camera, so you can prop the phone up, keep your eyes forward, and read the set total afterward.
Week one to week four
Three or four sessions a week with a rest day between the early ones. Calf soreness after session one is expected; sharp shin or Achilles pain is not — cut volume, not technique.
| Week | Focus | Longest unbroken set | Jumps per session |
|---|---|---|---|
| 1 | Stages 1–3, single bounce from a stop | 10–20 | 200–300 |
| 2 | Linking turns, fixing the arc | 30–50 | 400–600 |
| 3 | Continuous jumping at a steady cadence | 50–80 | 700–1,000 |
| 4 | Endurance, first variations | 100+ | 1,000–1,500 |
Treat those totals as a shape, not a prescription. A former runner clears week one quickly; someone new to impact work should stretch each row across two weeks. The order is what shouldn't move: form, then unbroken sets, then volume, then speed. By week four the conditioning side starts showing up on its own — more on the benefits of jumping rope — and you have the base for side swings, crossovers, and eventually double unders.
FAQ
How long should a beginner jump rope for?
Ten to fifteen minutes total, rest included. Break it into short sets — roughly 30 seconds of work, 30 seconds off — rather than one long block. In the first two weeks your calves set the ceiling, not your lungs.
Why do I keep hitting my feet with the rope?
Usually the rope is too long, or you're pulling your knees up instead of bouncing from the ankles. Re-size first: handles between armpit and shoulder height when you stand on the middle of the rope. Then check that your heels aren't kicking back behind you.
Should I learn on a beaded rope or a speed rope?
Beaded ropes are heavier, hold their arc, and click audibly on the floor, which helps while you're building timing. Thin PVC and coated-cable speed ropes turn faster and punish mistakes harder. Either works if it's sized correctly; many coaches start people on beaded or a light PVC rope and move to cable later.
How do I start jumping rope if I'm heavier or out of shape?
Spend the first week on stages 1 and 2 only, under 10 minutes a session. Instead of hopping with both feet, step over the rope one foot at a time — it keeps the rhythm work and drops most of the impact. Build ankle and calf tolerance before adding jump volume.
Free Jump Rope Counter tools
- Calories Burned CalculatorChoose an activity, enter its intensity, your duration and body weight, then get an estimate of calories burned per minute and total.
- Cardio Weekly PlannerPlan how much cardio per week with a simple schedule of minutes by intensity, a guideline comparison and a printable week view.
- Cycling Calories CalculatorEstimate calories burned cycling from your duration or distance, average speed, terrain and body weight. See calories per hour, per mile or km, and the MET used.
- Jogging Calories CalculatorEstimate calories burned while jogging from your body weight and either pace plus duration or distance plus time. See calories per mile, per km and the MET band used.
- Jump Rope Calories CalculatorEnter your body weight, session duration and jump rope pace to estimate total calories, calories per minute and the equivalent running time at 8 km/h.
- Jump Rope Challenge GeneratorCreate a deterministic jump rope challenge from your length, starting target and weekly progression percentage.
- Jump Rope Length by Height CalculatorEnter your height and jump-rope style or skill level to get a recommended rope length and a practical acceptable range.
- Jump Rope Workout for Beginners PlannerChoose your current level, available minutes and preferred work-to-rest ratio to build a progressive beginner jump-rope session.
- Jump Rope Workout Routine BuilderCreate a structured jump-rope routine with exercise blocks, work times, rest times and total interval targets.
- Jumping Jacks Calorie CalculatorEstimate how many calories burned doing 100 jumping jacks, or calculate a different rep count or duration using your weight, pace and intensity.
- Push Ups Calorie CalculatorEstimate calories burned, calories per rep, time taken and the reps needed to reach a calorie target.
- Steps to Calories CalculatorEstimate how many calories burned in 10000 steps, the distance those steps cover and the walking time at your chosen pace.
- Treadmill Calories CalculatorEstimate treadmill calories burned from speed, incline, duration, body weight and whether you are walking or running.
- Walking Calories CalculatorEstimate calories burned, calories per mile and kilometer, time taken and steps from your walking pace, incline, body weight and distance or duration.
- Zone 2 Heart Rate CalculatorCompare two methods for estimating your zone 2 heart rate range, then see the complete five-zone table. Enter a measured maximum heart rate when you have one.